Using the Antora Docker Container on a DigitalOcean Droplet
Experiment in building an Antora documentation site using Docker running on a virtual machine

OVERVIEW
Antora is an open source documentation site generator. It allows you to host your product documentation in a version control system like GitHub, GitLab or Bitbucket and from that build a pretty website to display the content using an easily configurable “playbook” that controls the presentation and content versioning.
Installing Antora on a desktop machine requires a number of pre-requistive tools and libraries like Node Version Manager (NVM) and Node itself. In my experience, trying to get Antora installed on both Windows and Linux was plagued with problems relating to tool and library versioning issues.
An easier way is to run Antora in a Docker container so you don’t have to worry about installing the various tools required and wrestle with OS and hardware incompatibilities. All you need to do is install Docker and tell it to run the official Antora container designed especially for Docker.
You can think of a Docker container image as a box with everything you need to run an application: the code, the runtime, the settings, and even the operating system itself. Docker containers isolate software from your machine’s environment so you can get up and running more quickly. So rather than installing and running Antora on your own computer, you install Docker and run Antora on its container image.
In this example we’re going to go a step further and instead of running Docker on a local machine, we’re going to run it within a DigitalOcean virtual environment hosted in the cloud.
STEP-BY-STEP
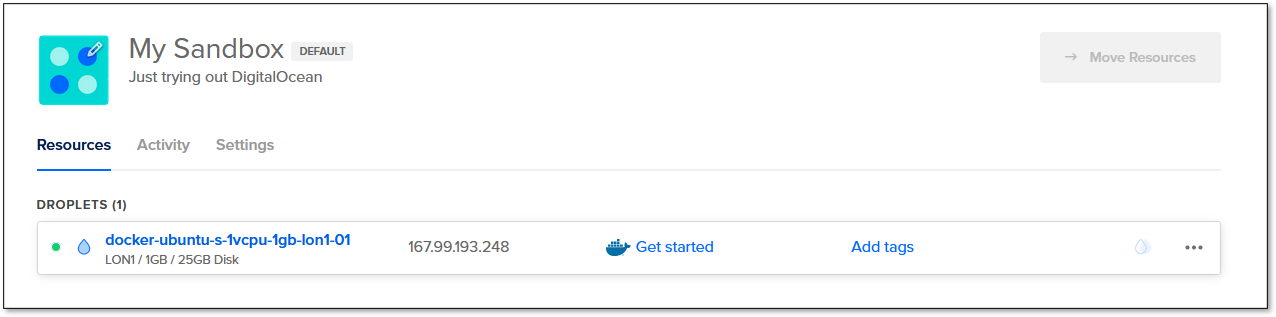
- Create a new Droplet in your DigitalOcean account.
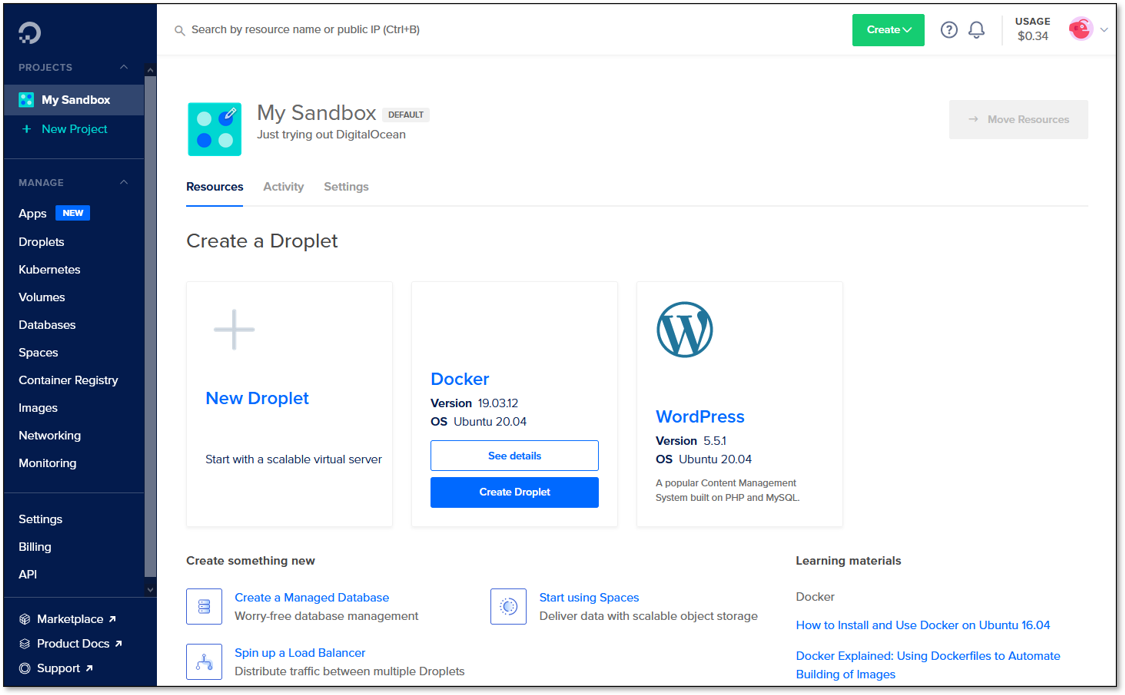
In my case I opted for one consisting of Docker 19.03.12 running on Ubuntu 20.04 with a regular shared CPU running 1GB RAM and basic block storage. I also just used password authentication.
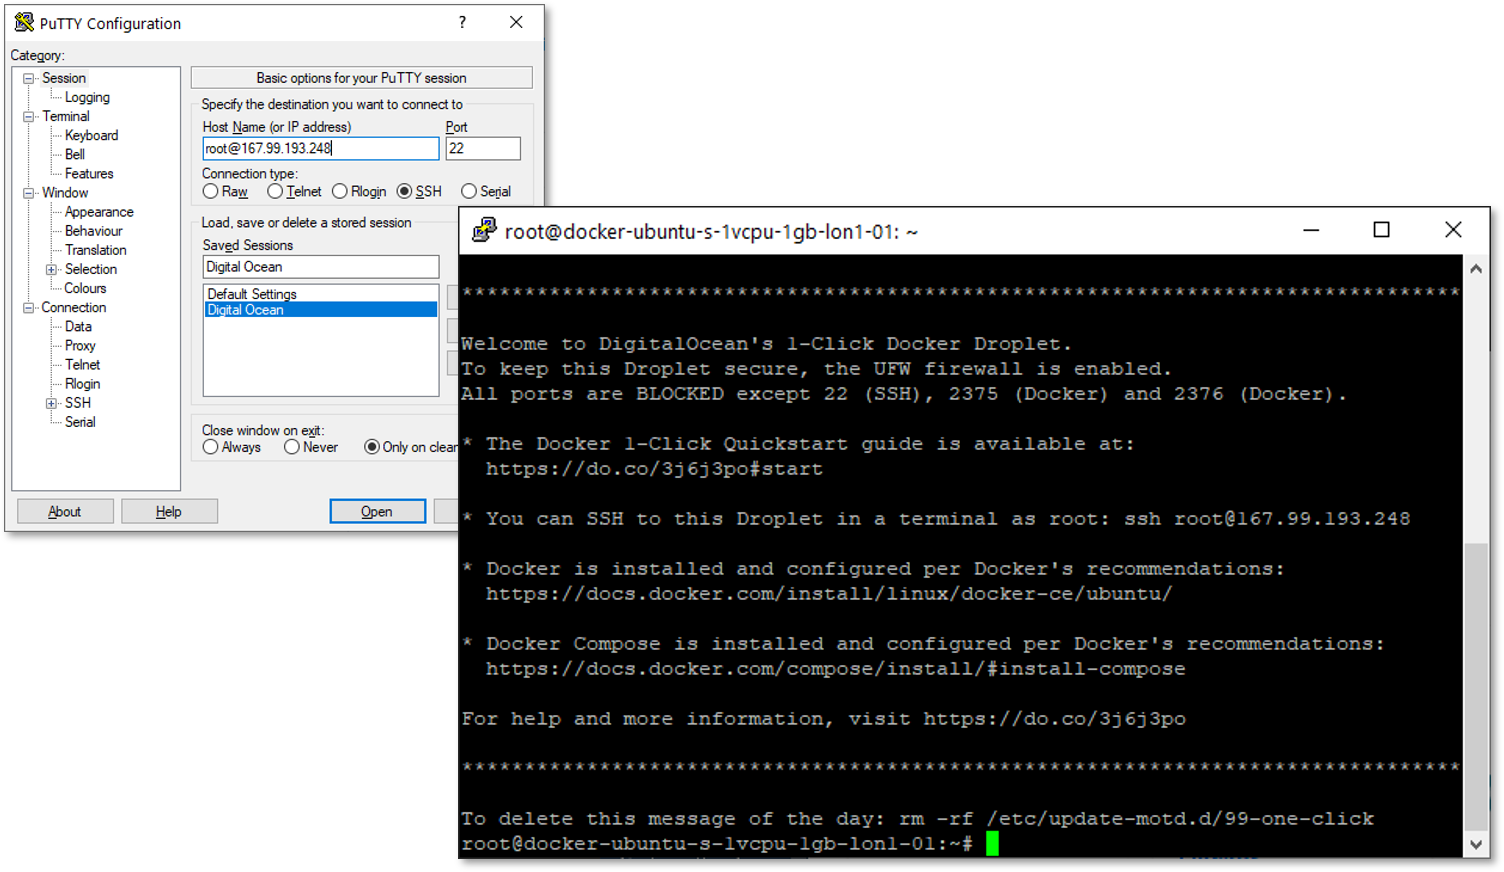
- Connect to the Droplet using a Terminal tool. In my case I used PuTTy for Windows:
- Update Ubuntu in the Droplet:
sudo apt -y upgrade
- Create a directory for the Antora project:
mkdir antora
- Navigate to the new antora directory and clone the Antora demo site. This will create a docs-site directory containing the Antora demo site and playbook file:
git clone https://gitlab.com/antora/demo/docs-site.git

root@docker-ubuntu-s-1vcpu-1gb-lon1-01:~/antora/docs-site# ls -la
total 52
drwxr-xr-x 4 root root  4096 Jun  3 10:21 .
drwxr-xr-x 3 root root  4096 Jun  2 19:25 ..
drwxr-xr-x 8 root root  4096 Jun  2 19:39 .git
-rw-r--r-- 1 root root    35 Jun  2 19:25 .gitignore
-rw-r--r-- 1 root root   291 Jun  2 19:25 .gitlab-ci.yml
-rw-r--r-- 1 root root 16725 Jun  2 19:25 LICENSE
-rw-r--r-- 1 root root  1901 Jun  2 19:25 README.adoc
-rw-r--r-- 1 root root   775 Jun  3 10:21 antora-playbook.yml
drwxr-xr-x 3 root root  4096 Jun  2 19:49 build
The antora-playbook.yml file contains all the details relating to the documentation site such as the various Markdown pages and the UI bundle that controls the HTML rendering of the site.
- The official Antora Docker image for running Antora inside a container is published in the antora/antora project on Docker Hub. To use this, run the following docker run command to invoke the Antora Docker image with the playbook file:
docker run -u $(id -u) -v $PWD:/antora:Z --rm -t antora/antora antora-playbook.yml
This command creates a new container using the Antora Docker image, mounts the current directory as the path /antora inside the container, runs the antora command on the Antora playbook, then stops and removes the container. It’s just like running a locally installed Antora command.
Because we’re running this in Linux we need to add the :Z or :z modifier to the volume mount, and the -u $(id -u) option to instruct Docker to run the entrypoint command as the current user. Otherwise, files will be written as root and become hard to delete. The -t flag allocates a pseudo-TTY required to display see the progress bars for Git operations.
The generated documentation site files will appear in the build/site directory.
To view the site properly in a web browser you’ll need to install a web server to host the site. You’ll also need to open up the Droplet’s firewall so you can actually access it. We’ll do this in the following steps.
- The simplest web server is the one that comes installed with Python 3 and the easiest way to install Python 3 in a droplet is to installed X-Tools which you can do using the following commandL:
apt install golang-golang-x-tools
- By default, all ports except 22 (SSH), 2375 (Docker) and 2376 (Docker) are blocked by a Droplet’s UFW firewall. So to allow HTTP requests to pass in and out, we need to open up a port like 8088 for example. Do this using the following command:
ufw allow 8088
- Now launch the Python HTTP Server within the build/site directory using the following command:
python3 -m http.server 8088
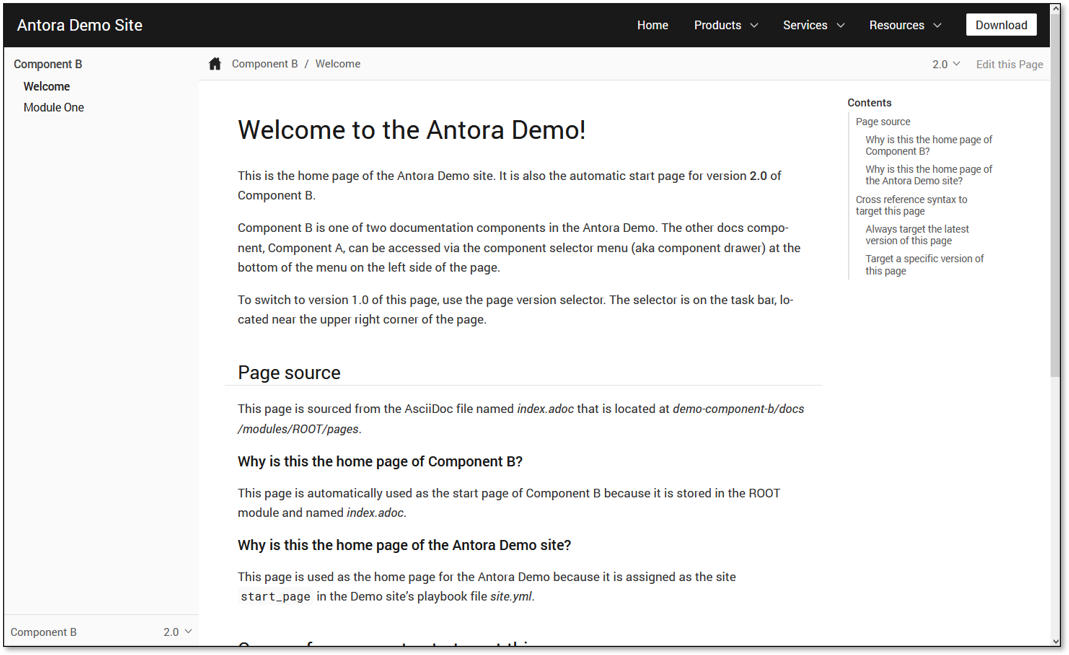
- Navigate to the droplet’s IP address on port 8088 to see the Antora test site:
Dermot O'Halloran
Extrapolating from experience to form generalizations