Setting up a Squeezebox Duet Without a Controller
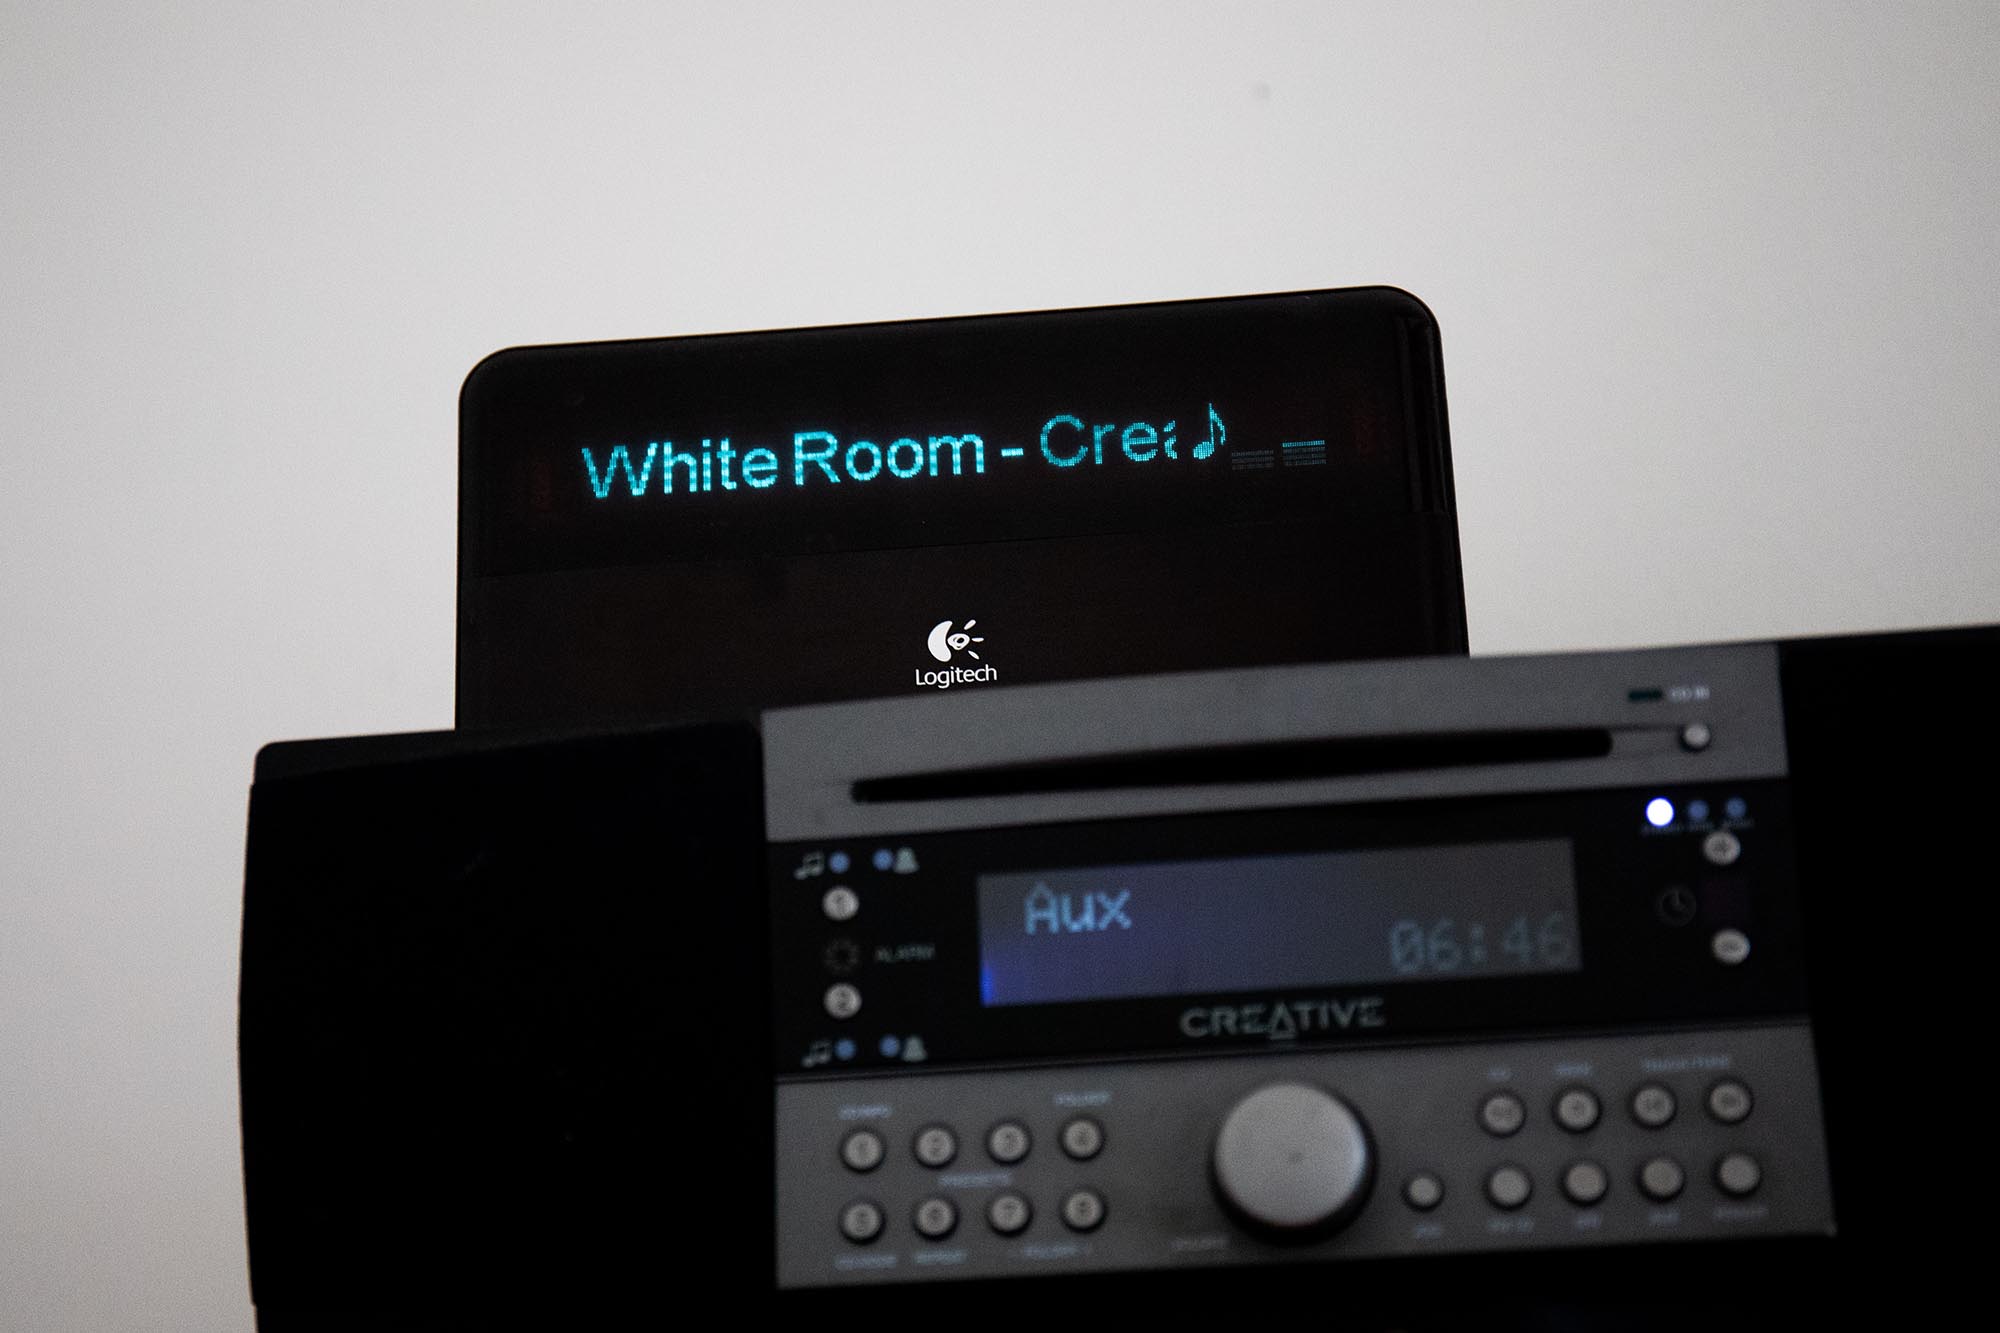 Our Squeezebox Classic, still in use since 2006
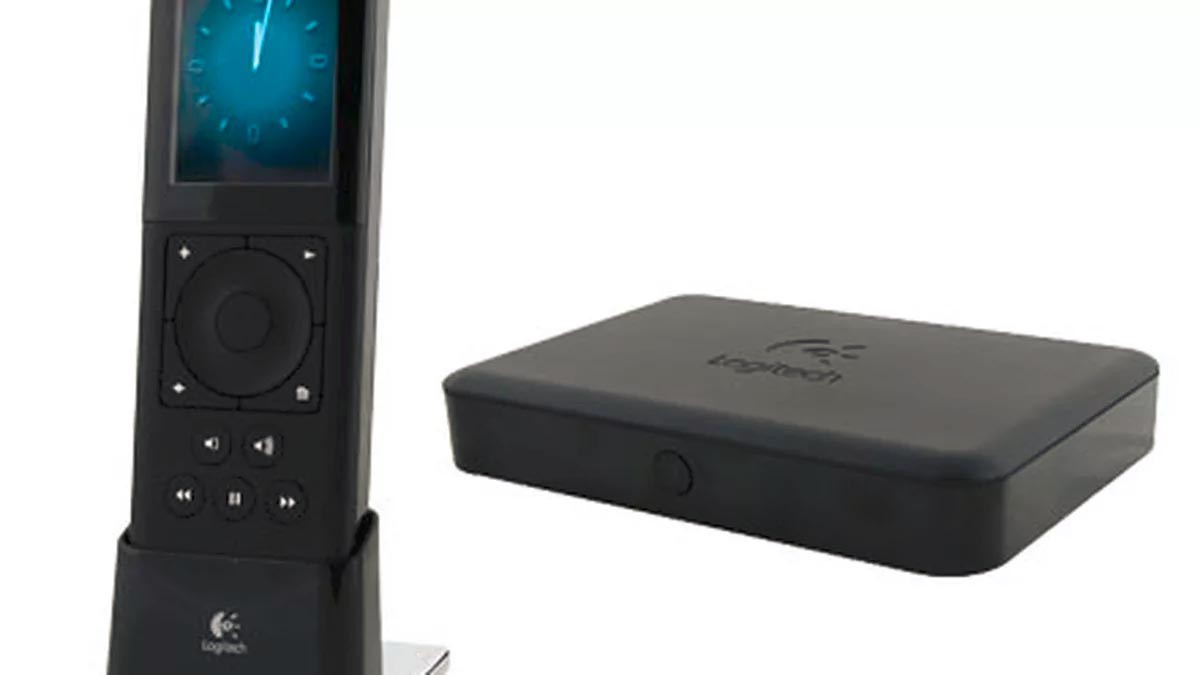
A few years ago my sister bought a Squeezebox Duet to play her music. It’s a superb solution. It consists of a small black box known as a Receiver. This connects to your wireless or LAN network and streams music from any device on it running the Squeezecenter Server software and plays it through your own speaker setup. It’s all managed using a separate Controller that wirelessly connects to the headless receiver and enables you to browse your music collection and decide what gets played.
Unfortunately, one day the controller just stopped working. Without the controller it became impossible to configure the Receiver. A new controller cost anything up to 300 euro and just wasn’t worth the expense. Luckily, after some investigating, I found a pretty good solution - a Robin Bowes had written an application called Net:UDAP that could connect to a Squeezebox Receiver and enable you to setup and configure the receiver’s wireless settings so it can connect to your network.
The application comes in the form of a Perl script which when run, connects to the receiver over a direct ethernet connection and enables you to manually set the receiver’s settings just like you would have done with a working controller. Once configured you can then use the free Squeezebox app available from the Android market or Apple Store on your phone or tablet to control the Receiver just like you would with the original controller.
Summary of the Steps
The following is a short summary of the steps. More detailed instructions are found further down.
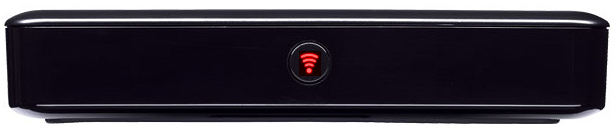
1.. Start by performing a factory reset the Squeezebox Receiver. Do this by holding down the button for five seconds or more until it starts flashing red.
2.. Connect the Receiver directly to your PC or laptop using an ethernet cable.
3.. Determine the IP address of the Receiver. Use ipconfig /all in Windows or ifconfig -a in Unix.
4.. Install Perl on your operating system.
5.. Download a ZIP of the Net::UDAP application from https://github.com/robinbowes/net-udap and extract it somewhere on your computer (or clone the project if you’ve got Git installed).
6.. Run the Net::UDAP application’s udap_shell.pl script as follows to connect to the Squeezebox Receiver:
udap_shell.pl --local-address [Squeezebox Receiver IP address]
7.. Run the scripts commands in its CLI to configure the receiver’s wireless network settings and the address of the Squeezebox server running on your network.
Prepare the Squeezebox Receiver and get its IP Address
1.. Before starting, the Squeezebox Receiver must be in init mode indicated by its front button flashing slowly red. Do this by performing a factory reset on the receiver by pressing and holding the button for five seconds or more until the light starts flashing red.
2.. Once in init mode, connect the Squeezebox Receiver to your laptop using an ethernet cable.
3.. Turn off your laptop’s wireless so it’s only looking at the LAN network.
4.. Open a command window and get the IP address of the Squeezebox Receiver using the following DOS command:
ipconfig /all
You should get some output like the following:
    C:\Users\Dermot> ipconfig /all

    Windows IP Configuration

       Host Name . . . . . . . . . . . . : MyLaptop
       Primary Dns Suffix  . . . . . . . :
       Node Type . . . . . . . . . . . . : Hybrid
       IP Routing Enabled. . . . . . . . : No
       WINS Proxy Enabled. . . . . . . . : No
       DNS Suffix Search List. . . . . . :

    Wireless LAN adapter Wireless Network Connection:

       Media State . . . . . . . . . . . : Media disconnected
       Connection-specific DNS Suffix  . :
       Description . . . . . . . . . . . : Intel(R) Centrino(R) Ultimate-N 6300 AGN
       Physical Address. . . . . . . . . : 24-77-03-26-B3-D4
       DHCP Enabled. . . . . . . . . . . : Yes
       Autoconfiguration Enabled . . . . : Yes

    Ethernet adapter Local Area Connection:

       Connection-specific DNS Suffix  . :
       Description . . . . . . . . . . . : Intel(R) 82579LM Gigabit Network Connection
       Physical Address. . . . . . . . . : 00-21-CC-72-45-01
       DHCP Enabled. . . . . . . . . . . : Yes
       Autoconfiguration Enabled . . . . : Yes
       Link-local IPv6 Address . . . . . : fe80::a4fb:9202:38d6:a32a%14(Preferred)
       Autoconfiguration IPv4 Address. . : 192.168.1.4(Preferred)
       Subnet Mask . . . . . . . . . . . : 255.255.0.0
       Default Gateway . . . . . . . . . :
       DHCPv6 IAID . . . . . . . . . . . : 285221324
       DHCPv6 Client DUID. . . . . . . . : 00-01-00-01-16-B2-73-D0-00-21-CC-72-45-01
       DNS Servers . . . . . . . . . . . : fec0:0:0:ffff::1%1
                                           fec0:0:0:ffff::2%1
                                           fec0:0:0:ffff::3%1
       NetBIOS over Tcpip. . . . . . . . : Enabled
5.. Examine the output and look for the Ethernet adapter details. Here you should find a section Autoconfiguration IPv4 Address which will list the IP address assigned to the device connected on the ethernet port. See the highlighted line above for an example - you can see how the IP address of the Receiver is 192.168.1.4.
Install Perl
To run the Net:UDAP application you’ll need to have Perl installed on your environment. Perl is typically installed by default on Ubuntu. A good way to run Perl scripts in Windows is using the ActivePerl distribution.
Download the installer file for its free community edition from here and run it to install Perl on your Windows environment. Once installed run the command perl -version within a command window to test that it works:
Microsoft Windows [Version 6.1.7601]
Copyright (c) 2009 Microsoft Corporation.  All rights reserved.

C:\Users\Dermot>perl -version

This is perl 5, version 14, subversion 2 (v5.14.2) built for MSWin32-x64-multi-thread
(with 1 registered patch, see perl -V for more detail)

Copyright 1987-2011, Larry Wall

Binary build 1402 [295342] provided by ActiveState http://www.ActiveState.com
Built Oct  7 2011 15:19:36

Perl may be copied only under the terms of either the Artistic License or the
GNU General Public License, which may be found in the Perl 5 source kit.

Complete documentation for Perl, including FAQ lists, should be found on
this system using "man perl" or "perldoc perl".  If you have access to the
Internet, point your browser at http://www.perl.org/, the Perl Home Page.

C:\Users\Dermot>
Run the Application to Connect to the Squeezebox Receiver
1.. Download a ZIP of the Net::UDAP application from https://github.com/robinbowes/net-udap and extract it somewhere on your computer (or clone the project if you’ve got Git installed).
2.. To get the Net::UDAP application to connect to the Squeezebox Receiver you need to run its udap_shell.pl script and specify the IP address of the Receiver you determined in the previous section. Here’s an example of the command where the IP address of the Receiver is 169.254.163.42:
C:\branches\1.0.x\scripts>udap_shell.pl --local-address 169.254.163.42
If the script successfully connects to the network address and you should see a command line interface as follows:
C:\branches\1.0.x\scripts>UDAP>
If the connection fails then it's typically because the IP address is incorrect. See the Troubleshooting section for some help.
3.. Use the help command to see what commands are available in the CLI:
UDAP> help
 Type 'help command' for more detailed help on a command.
   Commands:
    configure - configure a device
    discover  - Discover UDAP devices and get their current configuration
    exit      - Exit configure mode (if configuring a device), otherwise exit application
    fields    - Display a list of valid device fields
    help      - prints this screen, or help on 'command'
    list      - List discovered devices, or a specific information about a device
    quit      - Exit configure mode (if configuring a device), otherwise exit application
    reset     - Reset a device
    save_data - Save data parameters to device(s)
    save_ip   - Save ip parameters to device(s)
    set       - Set device parameter(s)
4.. The next step is to use the CLI to discover the Receiver and start its configuration.
Discover and Configure the Receiver
Once you’ve launched the script and connected to the Receiver you can begin to configure it.
1.. The first step is to tell the application which Squeezebox Receiver you wish to configure. Do this using the discover command to scan the IP address for Squeezebox Receivers running on the connection. You should get the following type of output:
     UDAP>
     discover
      info: *** Broadcasting adv_discovery message to MAC address 00:00:00:00:00:00 on 255.255.255.255
      info:   adv_discovery response received from 00:04:20:16:05:8f
      info: *** Broadcasting get_ip message to MAC address 00:04:20:16:05:8f on 255.255.255.255
      info:   get_ip response received from 00:04:20:16:05:8f
      info: *** Broadcasting get_data message to MAC address 00:04:20:16:05:8f on 255.255.255.255
      info:   get_data response received from 00:04:20:16:05:8f
2.. When the scan has completed as above, use the list command to display the available Squeezebox Receivers. There should only be one in this case:
     UDAP> list

       #    MAC Address    Type       Status
      == ================= ========== ===============
       1 00:04:20:16:05:8f squeezebox init
3.. Use the configure command to select the Squeezebox Receiver to configure based on its number (it will always be 1):
     UDAP> configure 1

      UDAP [1] (squeezebox 16058f)>
Notice the prompt has changed to show the device number [1] and name
4.. You are now ready to change the Receiver’s configuration details. Use the list command to display the current settings. You’ll see a list of all the configuration fields and their default values:
     UDAP [1] (squeezebox 16058f)> list

                   bridging: 0
                   hostname:
                  interface: 0
                lan_gateway: 0.0.0.0
                lan_ip_mode: 1
        lan_network_address: 0.0.0.0
            lan_subnet_mask: 255.255.255.0
                primary_dns: 0.0.0.0
              secondary_dns: 0.0.0.0
             server_address: 0.0.0.0
      squeezecenter_address: 0.0.0.0
         squeezecenter_name:
              wireless_SSID:
           wireless_channel: 0
            wireless_keylen: 0
              wireless_mode: 0
         wireless_region_id: 0
         wireless_wep_key_0:
         wireless_wep_key_1:
         wireless_wep_key_2:
         wireless_wep_key_3:
            wireless_wep_on: 0
        wireless_wpa_cipher: 1
            wireless_wpa_on: 0
          wireless_wpa_mode: 1
           wireless_wpa_psk:
To see a list of all the available fields and their descriptions use the fields command:
     UDAP> fields
                   bridging: Use device as a wireless bridge (not sure about this)
                   hostname: Device hostname (is this set automatically?)
                  interface: 0 - wireless, 1 - wired
                lan_gateway: IP address of default network gateway, (e.g. 192.168.1.1)
                lan_ip_mode: 0 - Use static IP details, 1 - use DHCP to discover IP details
        lan_network_address: IP address of device, (e.g. 192.168.1.10)
            lan_subnet_mask: Subnet mask of local network, (e.g. 255.255.255.0)
                primary_dns: IP address of primary DNS server
              secondary_dns: IP address of secondary DNS server
             server_address: IP address of currently active server (either Squeezenetwork or local server
      squeezecenter_address: IP address of local Squeezecenter server
         squeezecenter_name: Name of local Squeezecenter server (???)
              wireless_SSID: Wireless network name
           wireless_channel: Wireless channel (used by AdHoc mode???)
            wireless_keylen: Length of wireless key, (0 - 64-bit, 1 - 128-bit)
              wireless_mode: 0 - Infrastructure, 1 - Ad Hoc
         wireless_region_id: 4 - US, 6 - CA, 7 - AU, 13 - FR, 14 - EU, 16 - JP, 21 - TW, 23 - CH
         wireless_wep_key_0: WEP Key 0
         wireless_wep_key_1: WEP Key 1
         wireless_wep_key_2: WEP Key 2
         wireless_wep_key_3: WEP Key 3
            wireless_wep_on: 0 - WEP Off, 1 - WEP On
        wireless_wpa_cipher: 1 - CCMP, 2 - TKIP
            wireless_wpa_on: 0 - WPA Off, 1 - WPA On
          wireless_wpa_mode: 1 - WPA, 2 - WPA2
           wireless_wpa_psk: WPA Public Shared Key
In general you only need to configure a subset of these fields to get things working. It all depends on the type of network you want the Receiver to connect to.
- server_address - It’s not clear from the documentation what exactly this setting relates to but if it’s not set it doesn’t work. I assumed it relates to the IP address of the Squeezebox server (the same as the squeezecenter_address field). You decide what the IP value is - make sure its a unique address anywhere on your network.
- lan_subnet_mask - The subnet mask of your network. The default is 255.255.255.0 so if your subnet mask is the same then there’s no need to change it.
- squeezecenter_address - The IP address of the Squeezecenter server running on your network.
- wireless_SSID - The SSID of your wireless network.
- wireless_wep_key_0
- wireless_wep
- interface- 0 - wireless, 1 - wired
- hostname - A name for the Squeezebox Receiver so you can easily identify it.
NOTE THAT THESE ARE CASE SENSITIVE SO BE CAREFUL! Here’s an example where the wireless network was WPA enabled and therefore just required a passphrase.
set server_address=192.168.1.3 squeezecenter_address=192.168.1.3 squeezecenter_name=Squeezecenter wireless_SSID=shed wireless_wpa_psk=rathcloughduallacashel wireless_wpa_on=1 wireless_wpa_mode=2 wireless_wpa_cipher=2 interface=0 hostname=squeezebox-duet
5.. Type list to see the values have changed:
     UDAP [1] (squeezebox 16058f)> list
                   bridging: 0
                   hostname: squeezebox-duet
                  interface: 0
                lan_gateway: 0.0.0.0
                lan_ip_mode: 1
        lan_network_address: 0.0.0.0
            lan_subnet_mask: 255.255.255.0
                primary_dns: 0.0.0.0
              secondary_dns: 0.0.0.0
             server_address: 192.168.1.3
      squeezecenter_address: 192.168.1.3
         squeezecenter_name:
              wireless_SSID: shed
           wireless_channel: 0
            wireless_keylen: 0
              wireless_mode: 0
         wireless_region_id: 0
         wireless_wep_key_0:
         wireless_wep_key_1:
         wireless_wep_key_2:
         wireless_wep_key_3:
            wireless_wep_on: 0
        wireless_wpa_cipher: 2
            wireless_wpa_on: 1
          wireless_wpa_mode: 2
           wireless_wpa_psk: rathcloughduallacashel
6.. Use the save_data command to save the settings to the device:
     UDAP [1] (squeezebox 16058f)> save_data
      info: *** Broadcasting set_data message to MAC address 00:04:20:16:05:8f on 255.255.255.255
      ucp_method set_data callback not implemented yet at /home/robin/projects/Net-UDAP/trunk/scripts/../src/Net-UDAP/lib/Net/UDAP.pm line 281
      Raw msg:
                00 01 02 03 04 05 06 07 - 08 09 0A 0B 0C 0D 0E 0F  0123456789ABCDEF

      00000000  00 02 00 00 00 00 00 00 - 00 01 00 04 20 16 05 8F  ............ ...
      00000010  00 01 C0 01 00 00 01 00 - 01 00 06 00 1A           .............
      info:   set_data response received from 00:04:20:16:05:8f
7.. Finally, use the reset command to reset the Squeezebox Receiver in order to apply the changes:
     UDAP [1] (squeezebox 16058f)> reset
      info: *** Broadcasting reset message to MAC address 00:04:20:16:05:8f on 255.255.255.255
      ucp_method reset callback not implemented yet at /home/robin/projects/Net-UDAP/trunk/scripts/../src/Net-UDAP/lib/Net/UDAP.pm line 281
      Raw msg:

                00 01 02 03 04 05 06 07 - 08 09 0A 0B 0C 0D 0E 0F  0123456789ABCDEF

      00000000  00 02 00 00 00 00 00 00 - 00 01 00 04 20 16 05 8F  ............ ...
      00000010  00 01 C0 01 00 00 01 00 - 01 00 04                 ...........
      info:   reset response received from 00:04:20:16:05:8f
Ignore any warnings.
8.. The Squeezebox Receiver should reset and when it restarts it should begin connecting to your wireless network using the new settings. The Receiver will indicate a successful connection when a dark white light appears.

9.. Install the Squeezebox App on your phone or tablet to connect to the Squeezebox server and play your music.
Dermot O'Halloran
Extrapolating from experience to form generalizations